Paycor Scheduling payroll data is able to be exported in a Perform (Paycor) supported format in a few easy steps. We'll go over the configuration process below, as well as cover some important topics along the way. Let's get started!
CONFIGURATION & FUNCTIONALITY
The first step will be heading over to the Export Preferences page. To access this page, locate the Settings tab (cog icon) found on the main navigation menu on the far left side of your account. Next, hover over the tab to reveal a sub menu where you will want to click Payroll.
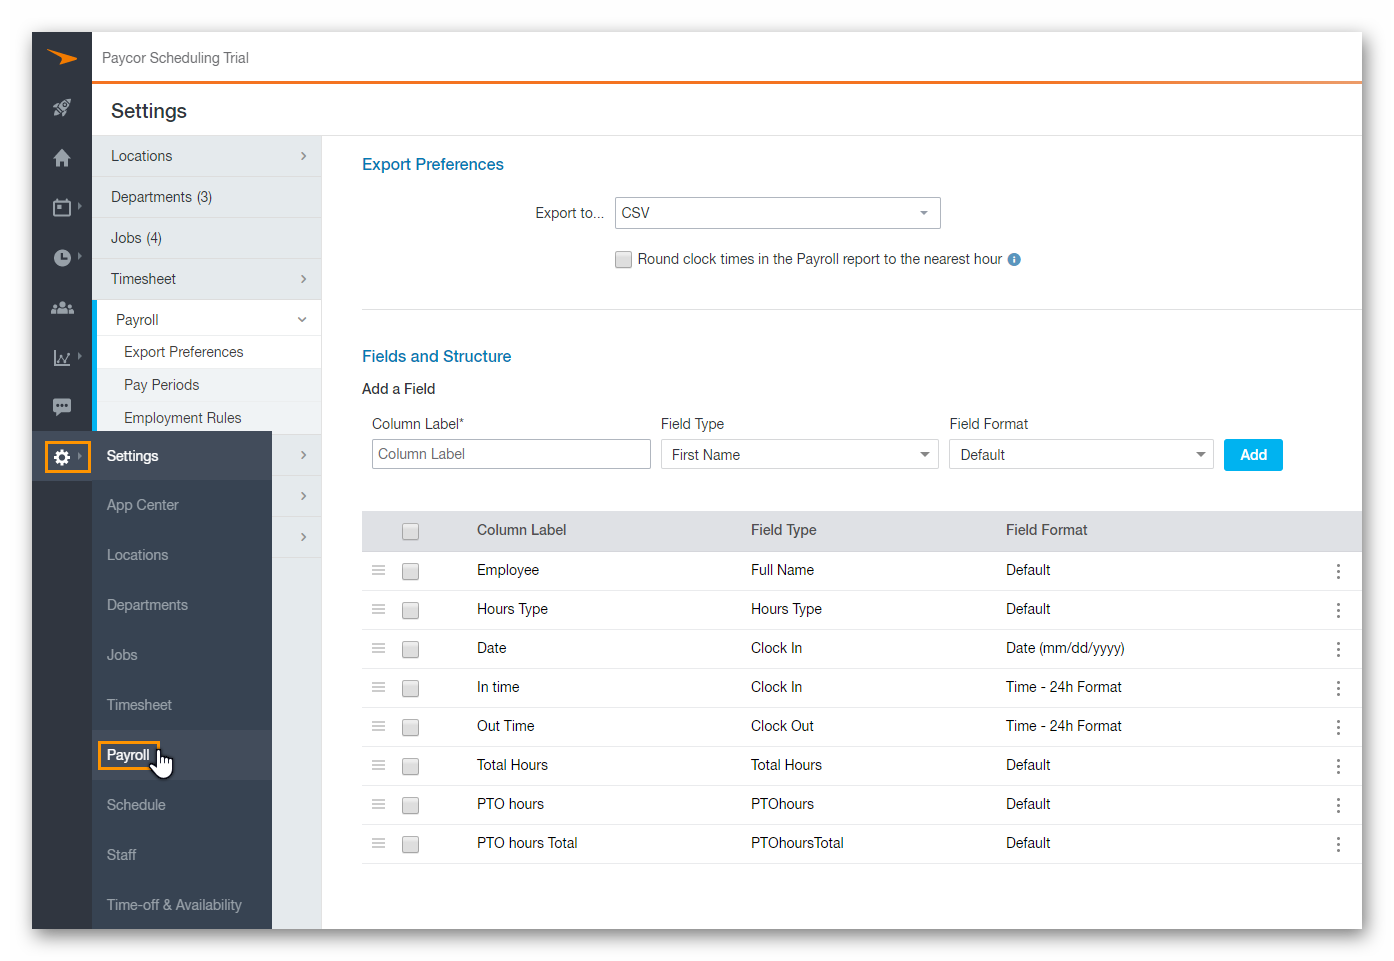
Once you click on the Payroll button, you will automatically land on the Export Preferences page by default. Click the Export to... drop down field to reveal a list of export based options. You will want to select the Export to Paycor option from this list, then click the Save button at the bottom of the page.
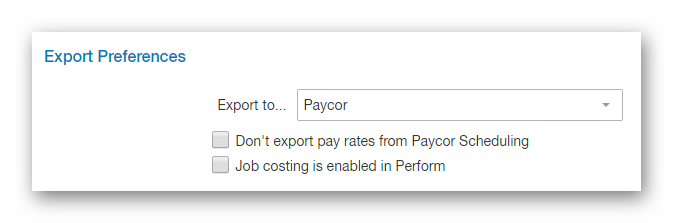
Before moving on, let's discuss the two options below the Export to... drop down field.
-
Don't export pay rates from Paycor Scheduling.
- By default, when the payroll data is exported from Paycor Scheduling into a Perform (Paycor) supported format, assigned pay rates are displayed in one of the columns. If you do not wish to have pay rates be included in the export, then make sure to tick this box, and click the Save button, prior to exporting payroll data.
-
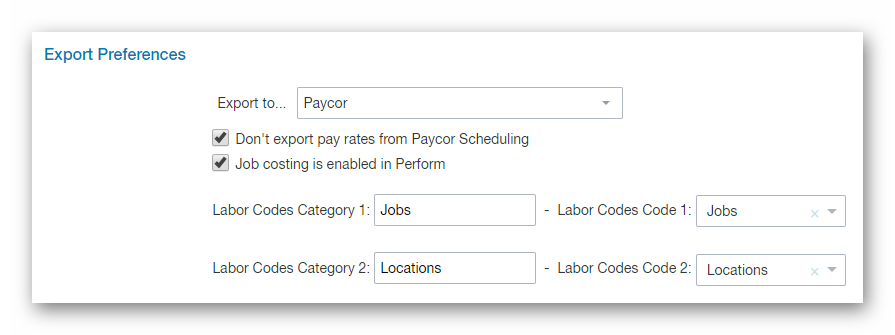
Job costing is enabled in Perform.
- Ticking the second option will reveal a number of labor code category and code fields. The category being the name of the data being displayed in the column when exported, and the code being the data itself, which you select from one of two possible options: Job & Location.
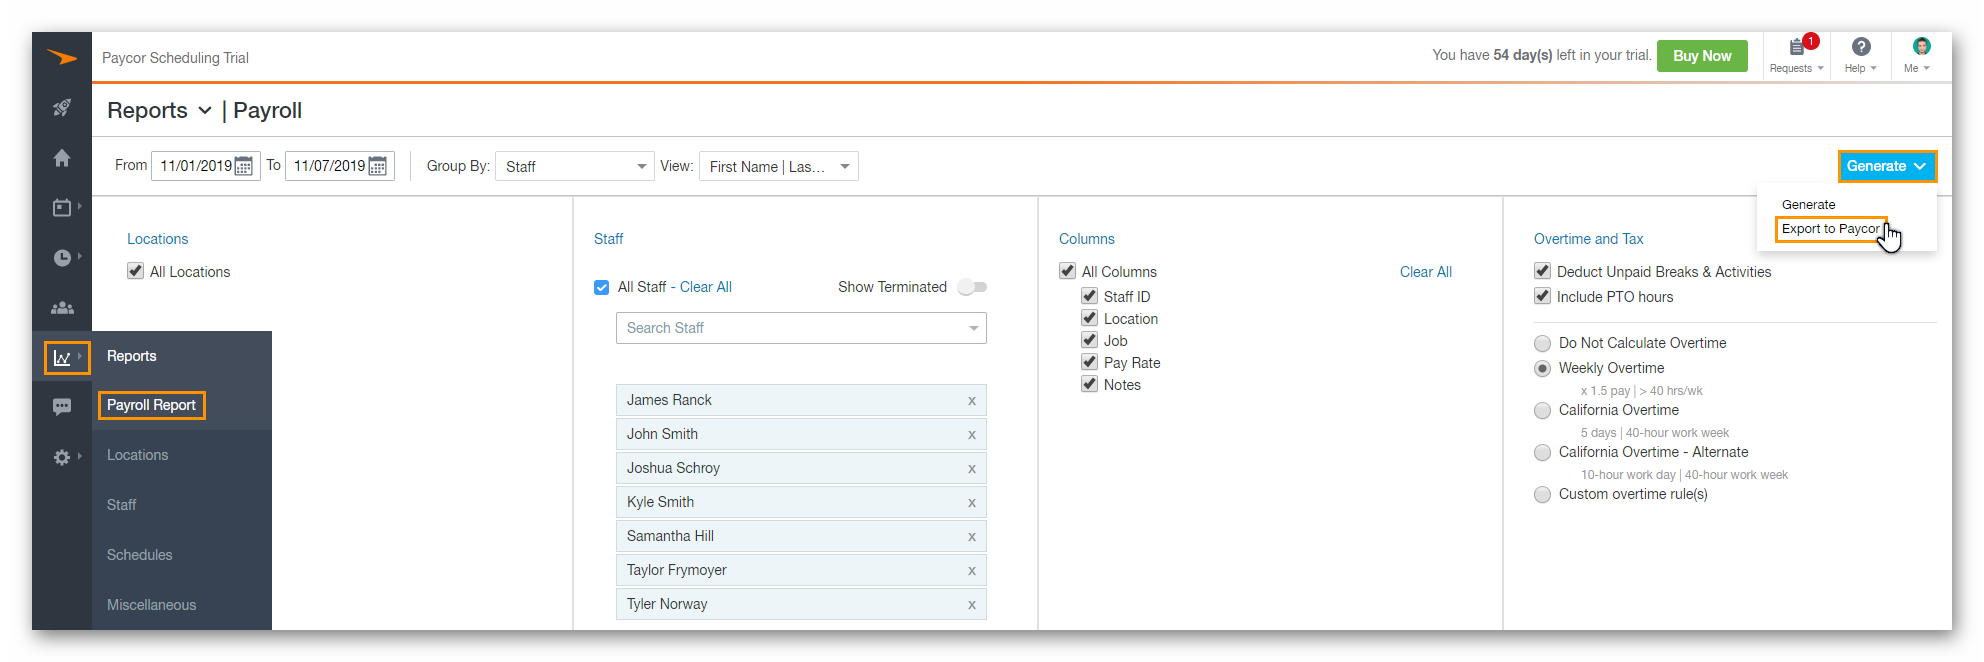
Again, if everything looks good on your end, then make sure to click the Save button so any changes can take effect. Now it's time to move over to the Payroll Report page itself so we can export payroll data. Locate the Reports tab (graph icon) found on the main navigation menu on the far left side of your account. Next, hover over the tab to reveal a sub menu where you will want to click Payroll Report. Once the report is configured, click the Generate button in the upper right hand corner, then select the Export to Perform option.
For more information on how to configure your payroll report, click here.
That's it! Your data will now be exported in a Perform (Paycor) supported format. Make sure to review the file before attempting to import to ensure that everything was configured properly.
IMPORTANT INFORMATION
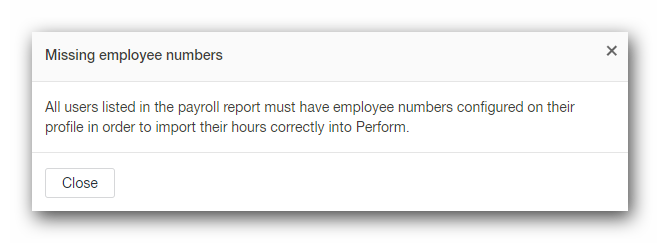
- All staff members included in the export must have a Staff Number assigned. If they do not have a Staff Number, you will be presented with an error message.
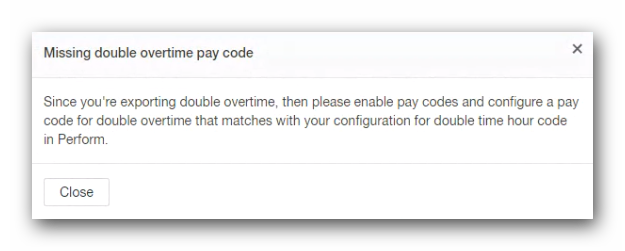
- In any case, Double Time requires pay codes to be enabled within the account. If pay codes are not properly configured, then you will be presented with an error message. For more information on pay codes, and how to configure them, click here.
- Location and Job names cannot exceed 20 characters. If Location and Job names do exceed the 20 character limit, then you will be presented with a warning message. You can choose to ignore the warning, and continue with the export, but the data will not import to Perform (Paycor) successfully.

- In order for timesheets to be included in the generated report, the timesheets must first be approved. Make sure that all timesheets you want to include in the report are approved prior to generating the report.
__________________________________________________________________________________

We want to hear about your great ideas. If you have a feature request, enhancement suggestion, or improvement, let us know by submitting them to to our Ideas page. Your submission can receive votes from other Paycor Scheduling users, or you can vote on ideas yourself. Simply click the ADD A NEW IDEA button below to check it out.
Cheers!