
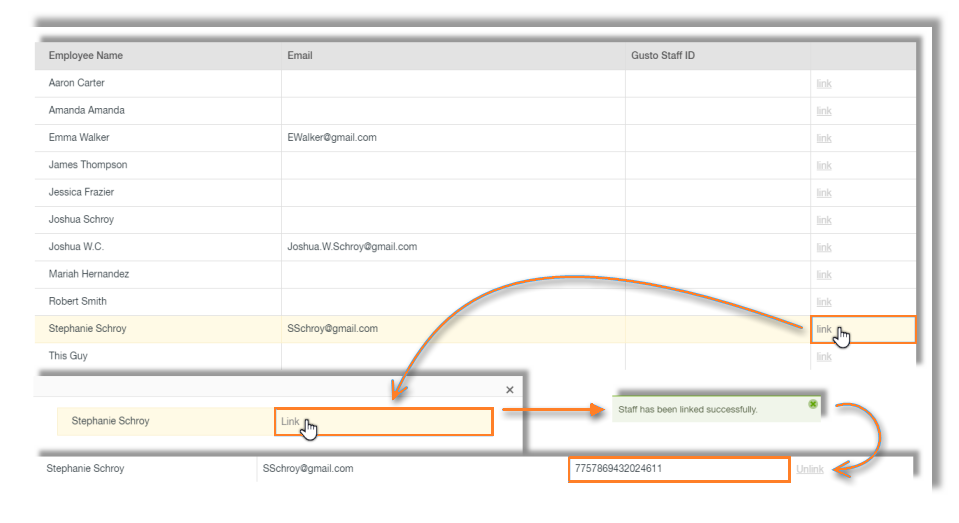
- If you already have staff members created within your Paycor Scheduling account, you will want to start here. Clicking the Link Employees button will open up a new window that displays all of the staff members currently created within your Paycor Scheduling account. Clicking the Link button to the far right of each Paycor Scheduling staff member will open up a panel displaying all of the staff members created within your Gusto account. You will want to link each employee within Gusto to the staff member within Paycor Scheduling. Please ensure that you are linking the correct Gusto employees to the staff members within Paycor Scheduling. Once a Paycor Scheduling staff member has been successfully linked to an employee within Gusto, a success popup will be displayed at the top of the page, and a Gusto Staff ID will be applied to the row.
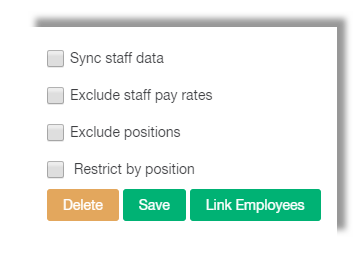
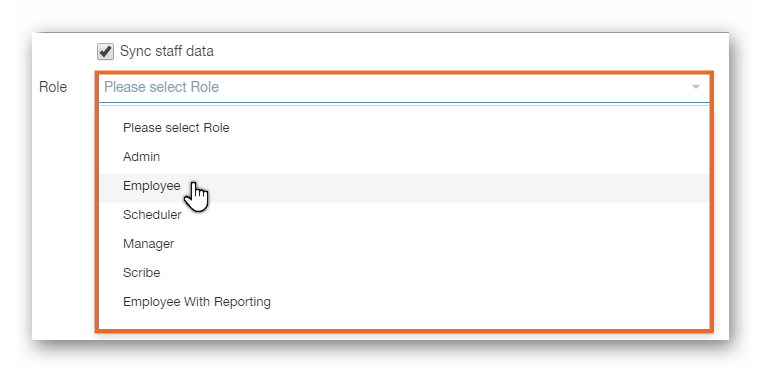
- This option will collect all of the employee information within your Gusto account, and apply it to your Paycor Scheduling account as new staff members. When the option is enabled, a new field will appear, allowing you to decide what User Role should be applied to the new Paycor Scheduling staff members created within the account.
Exclude Staff Pay Rates
- One of the things that can be synced over to Paycor Scheduling from Gusto is Pay Rate information. If you do not want this information to sync over to Paycor Scheduling from Gusto, you can enable this option.
Exclude Jobs
- Again, like the option explained above, you can choose to have Job information synced over to Paycor Scheduling from Gusto, or leave that information within your Gusto account. If this option is enabled, and since a Job is required within Paycor Scheduling, Paycor Scheduling will automatically assign a default Job to the staff member when they're synced over to Paycor Scheduling from Gusto.
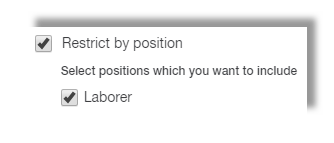
Restrict by Job
- If you have multiple jobs created within your Gusto account, but only want specific jobs to be synced over to Paycor Scheduling, you can achieve this by utilizing the Restrict By Job option. Simply enable the option, and choose which job(s) you want to sync over to Paycor Scheduling from Gusto.
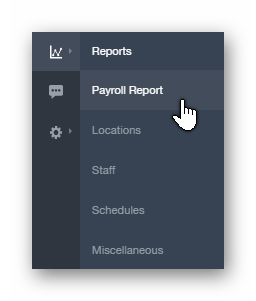
When you're finished, you will now be able to export data from Paycor Scheduling to Gusto via the Payroll Report page. Let's head over to that page now. Hover over the Reports tab (graph icon) via the main navigation menu on the left hand side of your Paycor Scheduling account, and click the Payroll Report button.
IMPORTANT NOTE: Gusto and Paycor Scheduling both have some restrictions in place, so you will want to ensure that you understand the payroll limitations between the two platforms. It's also important to note that Paycor Scheduling does not support future payroll date ranges, so any future payroll date range data will need to be manually configured within your Gusto account.
WHAT THIS MEANS: You may not be able to export hours for any date range. You will be required to follow the payroll date range illustrated within your Gusto account, and only attempt to export hours from Paycor Scheduling to Gusto when within Gusto's payroll window.
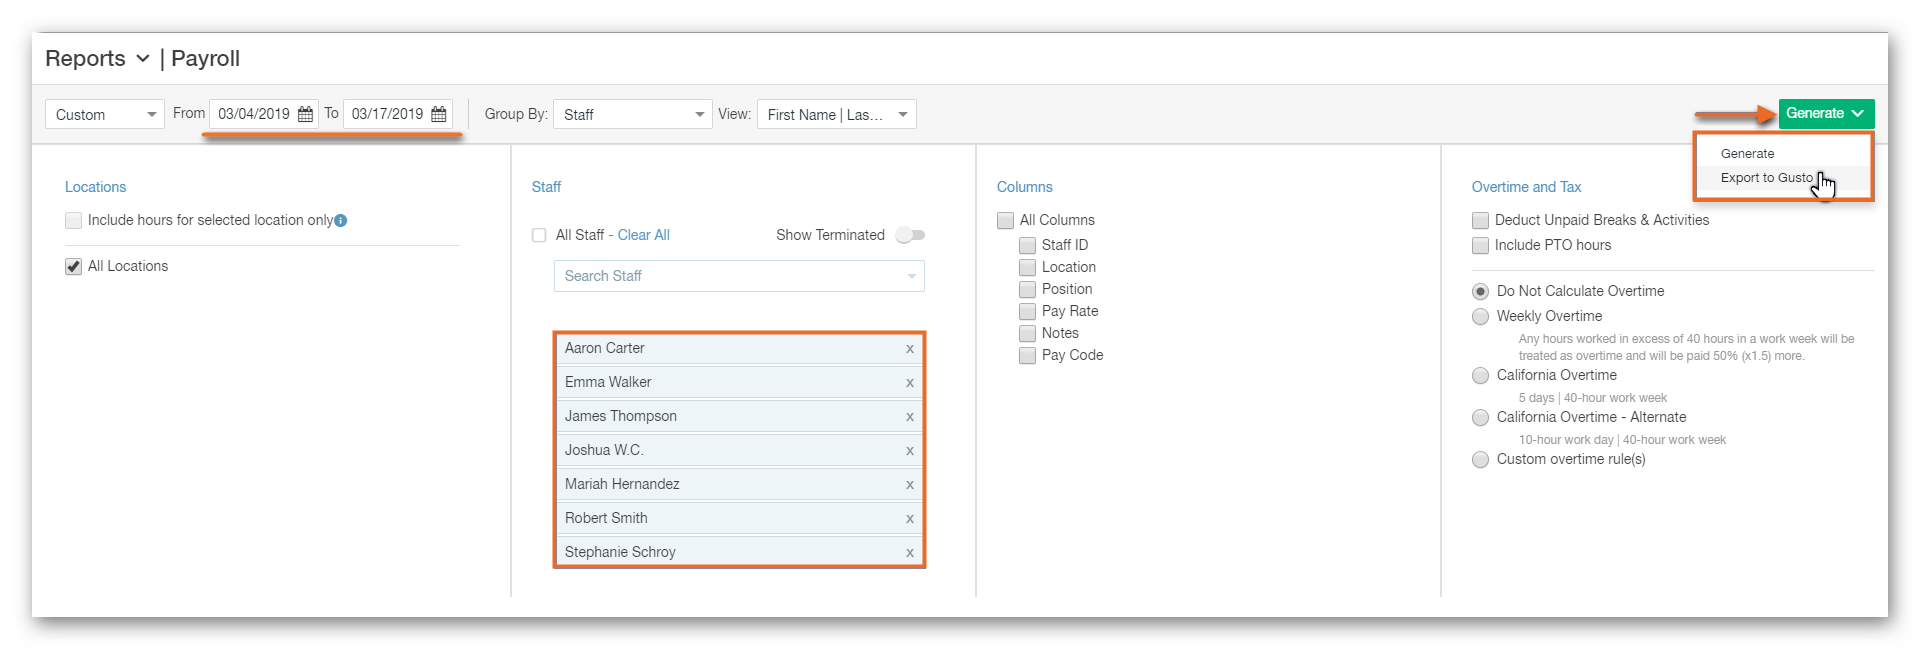
Now that we're on the Payroll Report page within your Paycor Scheduling account, and we've successfully connected Paycor Scheduling to your Gusto account, we can export payroll data from Paycor Scheduling to Gusto. Please follow the steps below:
- Choose the correct date range.
- Select the staff members you wish to include.
- Click the Generate button.
- Select the Export to Gusto option.
Once you've successfully exported payroll data from Paycor Scheduling to Gusto, which may take a little bit of time, you will be redirected to Paycor Scheduling's detailed report of the exported data. Once everything is accurate on both sides (Paycor Scheduling & Gusto), and you've confirmed that all of the numbers are accurate, you can finalize the payroll process on Gusto's end.
__________________________________________________________________________________

We want to hear about your great ideas. If you have a feature request, enhancement suggestion, or improvement, let us know by submitting them to to our Ideas page. Your submission can receive votes from other Paycor Scheduling users, or you can vote on ideas yourself. Simply click the ADD A NEW IDEA button below to check it out.
Cheers!