Please note: This article only applies to standalone customers (7Geese), it does not apply to those who are integrated into the broader Paycor HCM platform. If you're based in the US click here to learn more. Click the link if you're based in the US and want to learn more.
This guide is an overview of information related to syncing users to your 7Geese organization using Webhooks. Webhooks provide an alternative to syncing user data when that data might not be available over the internet. Setting up an HRIS Webhook Integration requires technical work on your end to send data from your HRIS system to 7Geese. This guide will cover:
- Creating a webhook
- Testing your webhook
- Enabling your webhook
Creating a Webhook
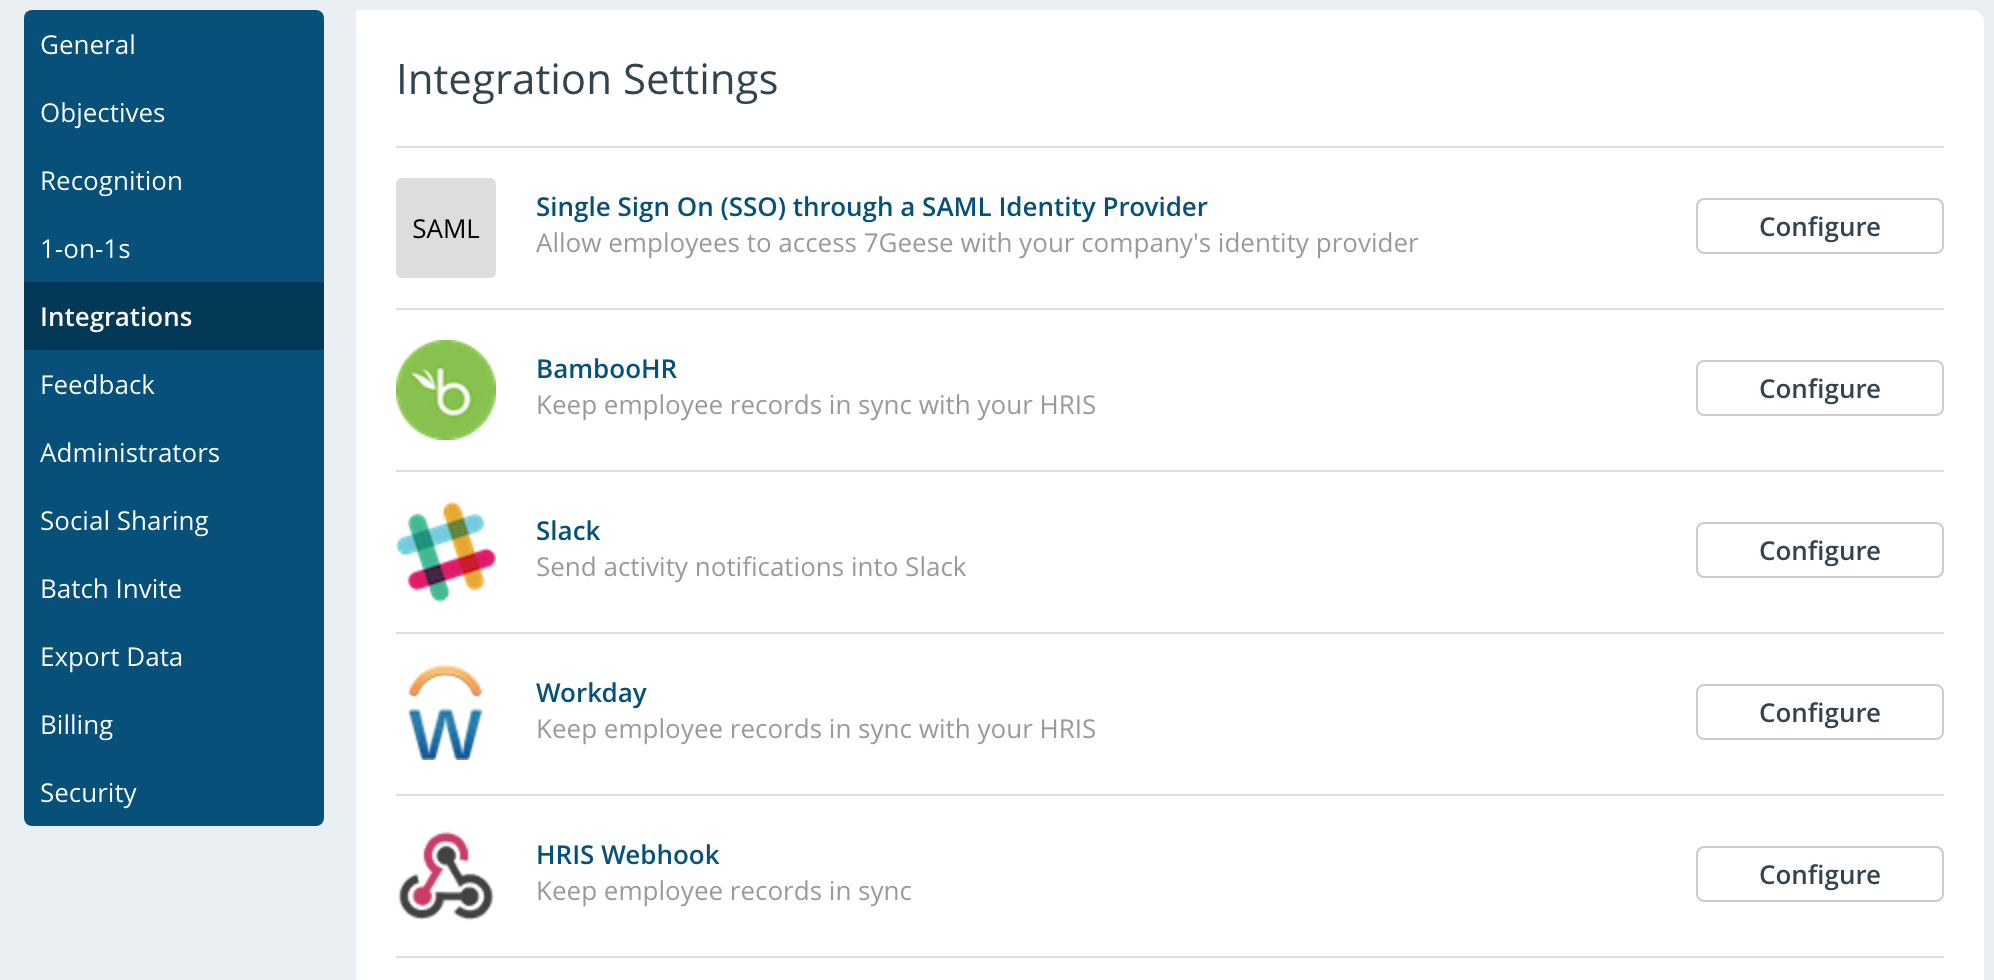
In the integrations section of 7Geese, click Configure next to "HRIS Webhook".

After picking your Sync Type and configuring which fields you want to sync, click the Save Settings button.
You should be provided with an API Key and a Webhook Endpoint. Make a note of these values as you will need it to send data to 7Geese.

Testing your Webhook
When you first create a new HRIS Webhook, it is created in Test Mode.
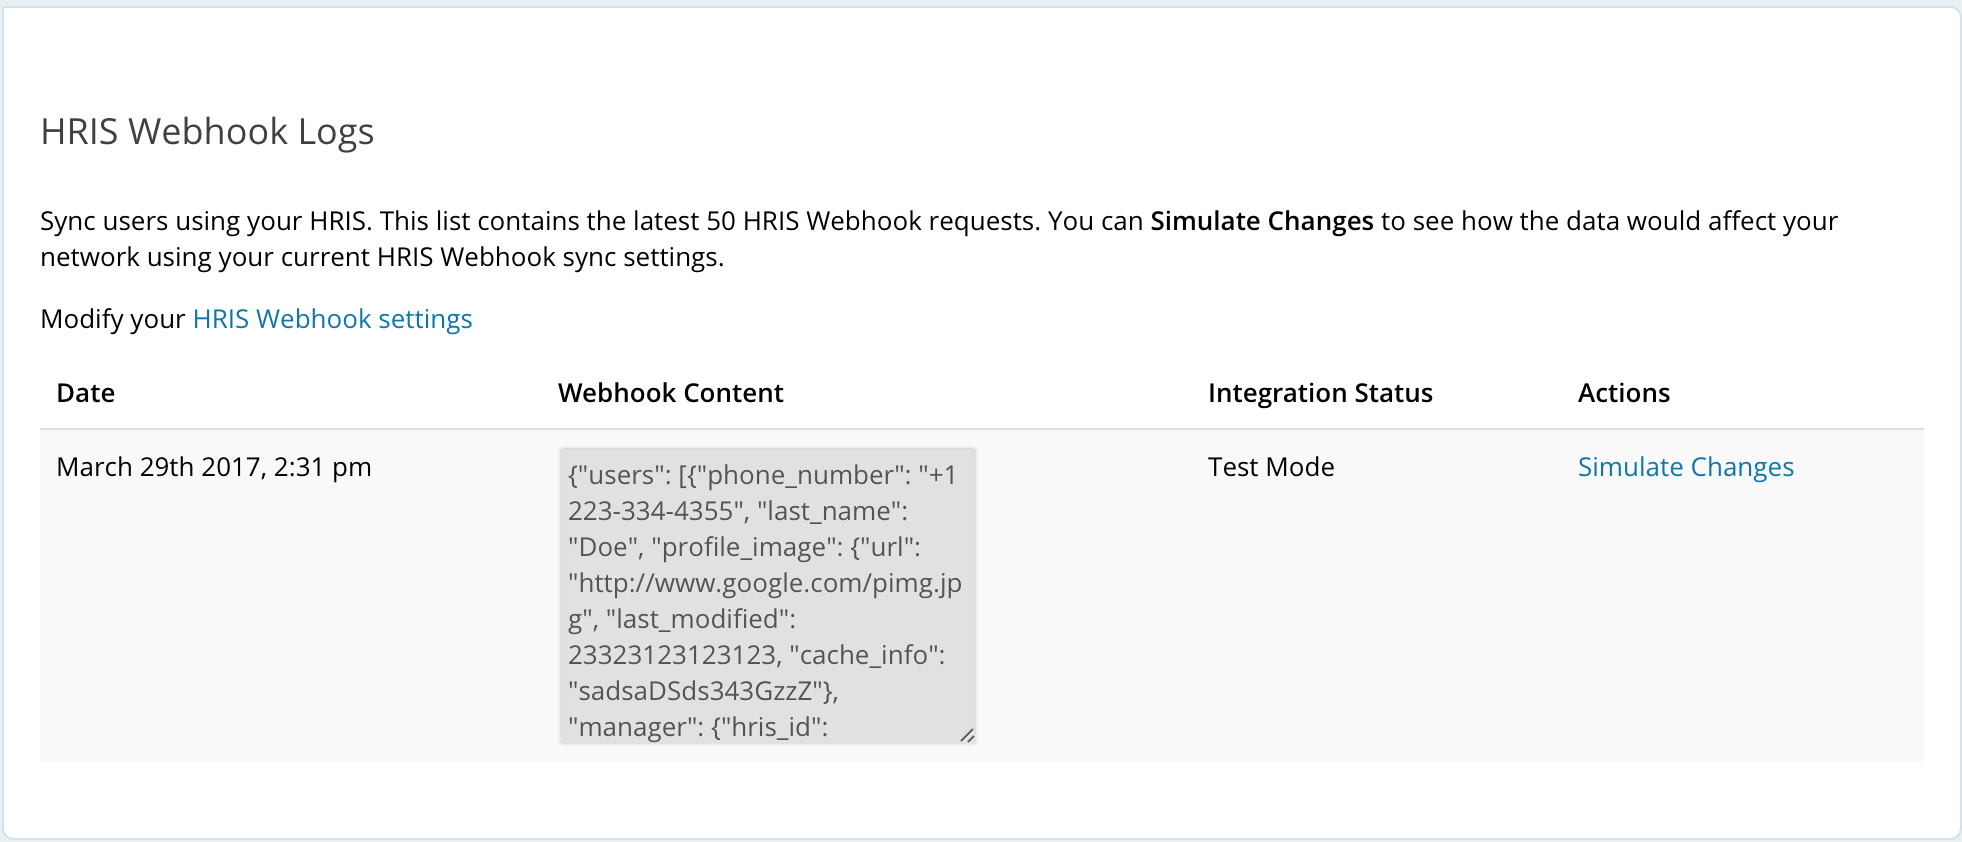
Test mode allows you to send data to your Webhook Endpoint without it affecting any of your data in 7Geese. You can run a simulation with the data you submitted to see how a particular webhook request would have affected users in your organization. You can view all the requests you have made to your Webhook Endpoint and run simulations from the HRIS Webhooks Logs page: https://app.7geese.com/admin/hriswebhook/logs/

Sending Data to 7Geese
To send data to 7Geese, you have to POST JSON data to your Webhook Endpoint and send your API Key in the X-HRIS-AUTHENTICATION header of the request.
The data you send to 7Geese needs to be structured in a specific way. This JSON schema describes how to structure your data before sending it to 7Geese.
{
 "$schema": "http://json-schema.org/draft-04/schema#",
 "type": "object",
 "properties": {
 "users": {
 "type": "array",
 "items": {
 "type": "object",
 "properties": {
 "hris_id": {
 "type": "string",
 "description": "An ID that uniquely identifies the user within your HRIS. You may also set this to the email address of the user if you don't have an HRIS ID available."
 },
 "first_name": {
 "type": "string"
 },
 "last_name": {
 "type": "string"
 },
 "email": {
 "type": "email"
 },
 "job_title": {
 "type": "string"
 },
 "phone_number": {
 "type": "string"
 },
 "employee_id": {
 "type": "string"
 },
 "hire_date": {
 "type": "string"
 },
 "profile_image": {
 "type": "object",
 "properties": {
 "url": {
 "type": "string"
 },
 "last_modified": {
 "type": "date-time"
 },
 "cache_info": {
 "type": "string"
 }
 },
 "required": [
 "url"
 ]
 },
 "departments": {
 "type": "array",
 "items": {
 "type": "string",
 "description": "For sub-departments, use > to indicate the department is inside a larger department. Eg 'Engineering > Mobile Team'\n\n\nNew Departments:\n\nIf a department does not exist in 7Geese, it will be created."
 }
 },
 "active": {
 "type": "boolean"
 },
 "manager": {
 "type": "object",
 "properties": {
 "hris_id": {
 "type": "string"
 }
 },
 "required": [
 "hris_id"
 ]
 }
 },
 "required": [
 "active",
 "email",
 "hris_id",
 "first_name",
 "last_name"
 ]
 }
 }
 },
 "required": [
 "users"
 ]
}
Note that not all fields are required. Here is a complete example of data structured in the correct way.
{
 "users": [
 {
 "hris_id": "1FdzdQf35CffSd53",
 "first_name": "John",
 "last_name": "Doe",
 "email": "john.doe@7geese.com",
 "job_title": "VP Engineering",
 "phone_number": "+1 223-334-4355",
 "employee_id": "E123556",
 "hire_date": "2016-10-25",
 "profile_image": {
 "url": "https://s3.amazonaws.com/publicassets.7geese.com/misc/765-default-avatar.png",
 "last_modified": 23323123123123,
 "cache_info": "sadsaDSds343GzzZ"
 },
 "departments": [
 "Engineering > Mobile Team",
 "Customer Success > Support > Mobile Support",
 "Sales > Sales Engineer"
 ],
 "active": true,
 "manager": {
 "hris_id": "E9923443"
 }
 }
 ]
}
Here is an example of sending valid data to your Webhook endpoint using cURL. Assuming you stored the above example data as webhook-data-example.json, run:
curl --header "X-HRIS-AUTHENTICATION: 773603159c636db69c1e596c68a6368624305bcb" \
 --header "Content-Type: application/json" \
 -X POST \
 --data-binary '@webhook-data-example.json' \
 https://app.7geese.com/hriswebhook/sync/e4a777a9021349fc9d061bd60fe1ec20/
Enabling your Webhook
After enabling your webhook, any data sent to your Webhook Endpoint will be actively synced with 7Geese. To enable your Webhook, check the Enable webhook checkbox and click the Save Settings button on the integration page.

At any time you can disable or update your webhook. Updating puts the webhook back in Test Mode. You should test your integration again after modifying it before activating the webhook again.
FAQ
Q: How can I confirm that the Webhook integration is syncing as expected?
A: On the People page, synced users will have a chain icon next to them, and when you go to try and edit them, all the synced fields will be read-only.
![]()
Q: How do I know if my users will become deactivated?
A: The Webhook syncer expects to always receive all of the users that you intend to sync. If you send a smaller batch (like a subset of users), it will marks all users that you didn't send as not synced, and remove them from any synced departments.
Users who are not synced will not be deactivated in normal syncing mode (which is the default), but they will be in “1:1 Syncing” mode:

So in Normal mode, sending a subset of users isn’t a big deal for the users themselves, except that it will remove any unsynced users from synced departments. Because synced departments (also identifiable with the same chain icon on the departments page) are only allowed to contain the synced users defined in the external system.
