
Paycor Scheduling's Payroll Report pulls data from the Timesheets page, generating a report full of hours worked, wages earned, and much more. The data generated is based on a number fields that you define, including a Custom date range, or a date range based on the Pay Period configured within your account (assuming a Pay Period has been created within your account). To access the Payroll Report page, navigate the account in this order:
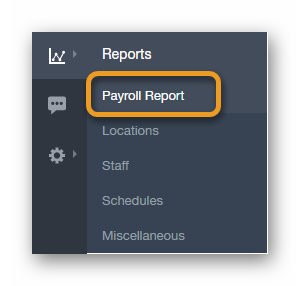
- Hover over the Reports tab (graph icon).
- Select Payroll Report from the menu.
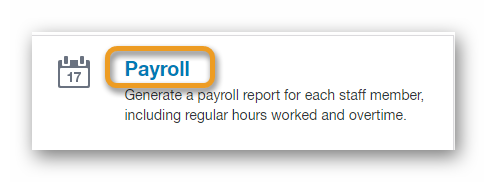
There's another way you can access easily access the Payroll Report page. When you're viewing the Reports page dashboard, locate the Payroll panel, and click the large Payroll text.
IMPORTANT NOTE: For this article, we will be focusing on the Custom - Payroll Report only. For more information on the Pay Period - Payroll Report, and how to properly set up a Pay Period within your Paycor Scheduling account, click here.
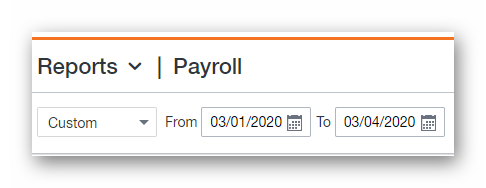
Let's start by deciding what type of Payroll Report is being generated. There are two types: Custom & Pay Period. Select Custom from the drop down list, and choose your desired date range.
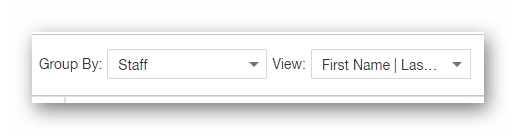
The Payroll Report can be grouped in a number of ways, and the name order can be adjusted as well. The options are as listed below:
-
Group By:
- Staff
- Job
- Department
-
View:
- First Name | Last Name
- Last Name | First Name
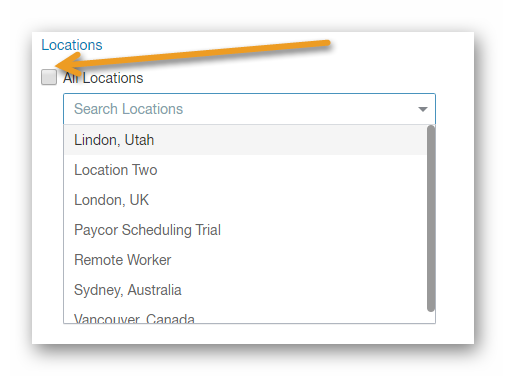
By default, the Payroll Report will include approved Time Clock data for all locations. However, you can decide if you want to generate payroll data for a specific Location by deselecting the All Locations option, and selecting a Location from locations field. This also affects the staff members displayed via the Staff column.
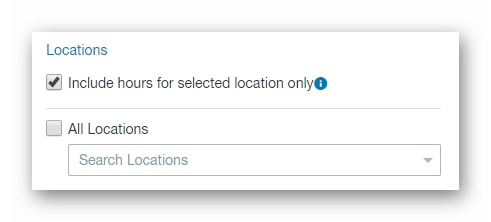
Some of your staff members may be assigned to multiple locations. If this is the case, selecting one of the locations they're assigned to will still generate approved Time Clock data for the other locations they're assigned to. If you do not want approved Time Clock data to be displayed for locations outside of the one you've selected, then you'll want to enable the Include Hours For Selected Location Only option. NOTE: This feature is available only on the older Payroll engine. The new payroll engine includes location hours per staff member, even when filtered by Location. This is intended due to OT Calculation.
The Staff column is where you will decide who is to be included in the generated Payroll Report. You can choose one staff member, or all staff members. Clicking the All Staff button will automatically add all staff members to the list. The opposite effect would be to click the Clear All button.
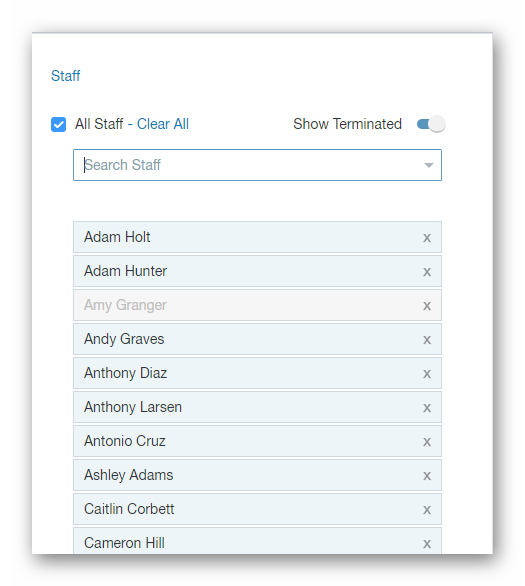
If you have terminated staff members that you would like to include in the generated Payroll Report, you must first toggle the Show Terminated switch. Any terminated staff members included in the list below will be grayed out (as per above screenshot).
To search for a specific staff member, enter the name into the Search Staff field. The results will be displayed in a list form below the search field. Clicking a staff member from the results list will add them to the list of staff members to be included in the generated Payroll Report.
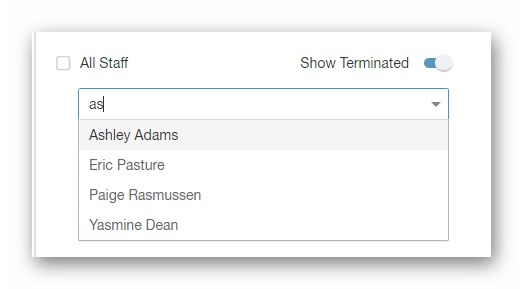
To individually remove staff members from the list of those to be included in the generated Payroll Report, simply click the small x's to the right of their names.

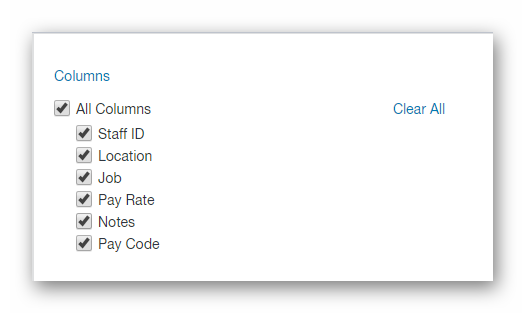
The Columns column contains several options that will determine what kind of additional data is displayed when the Payroll Report is generated.
-
All Columns
- Selecting this option will select all of the options below. Deselecting it will deselect all of the options below.
-
Staff ID
- Selecting this option will include the Staff ID column within the generated Payroll Report. The Staff ID is an editable field found within each staff members Profile Details page.
-
Location
- Selecting this option will include the Location column within the generated Payroll Report. Each approved Time Clock entry has a Location assigned which is what the Location column displays.
-
Job
- Selecting this option will include the Job column within the generated Payroll Report. Each approved Time Clock entry has a Job assigned which is what the Job column displays.
-
Pay Rate
- Selecting this option will include the Pay Rate column within the generated Payroll Report. Pay rates will only display here if a Pay Rate has not been defined for the staff members. Otherwise, this column will display a 0.00.
-
Notes
- Selecting this option will include the Notes column within the generated Payroll Report. Notes will only display here if a Note has been entered for an approved Timesheets page entry.
-
Pay Code
- Selecting this option will include the Pay Code column within the generated Payroll Report. Pay codes will only display here if a Pay Code has been assigned to an approved Timesheets page entry.
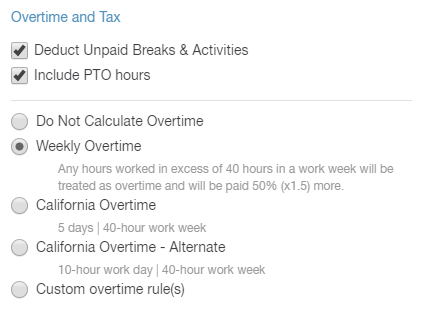
The Overtime and Tax column contains very important options that will determine the accuracy of the Payroll Report data being generated.
-
Deduct Unpaid Breaks & Activities
- If you have any unpaid breaks created within the account, this includes Break Rules as well as Jobs / Activities, selecting this option will deduct them from the Payroll Report hours generated.
-
Include PTO Hours
- If you have any PTO Policies created within the account, and want to ensure that PTO data is included in the generated Payroll Report, you'll want to select this option.
IMPORTANT NOTE: The Include PTO Hours option will only be available for selection if the Group By: field is set to Staff. Otherwise, the Include PTO Hours option will be hidden.
-
Do Not Calculate Overtime
- Overtime will not be calculated for the generated Payroll Report.
-
Weekly Overtime
- Any hours worked in excess of 40 hours in a work week will be treated as overtime and will be paid 50% (x1.5%) more.
-
California Overtime
- 5 days | 40-hour work week.
-
California Overtime - Alternate
- 10-hour work day | 40-hour work week.
-
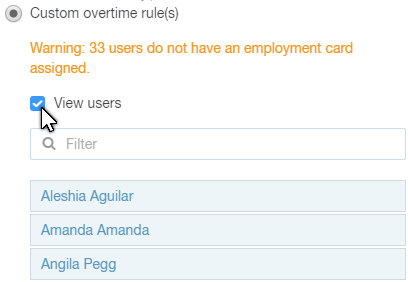
Custom Overtime Rule(s)
- This option is directly affected by any Employment Rules that have been assigned to staff members. If no Employment Rules have been assigned to any staff members, than a warning message will be displayed, along with the staff members that are affected. For more information on Employment Rules, click here.
IMPORTANT NOTE: For overtime calculation, only one of the five options can be selected, and is dependent upon the type of overtime that applies to the Payroll Report being generated.
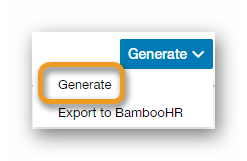
Once the Payroll Report is configured, click on the Generate button found in the upper right hand corner. This will present you with a drop down list of any additional export options available for your third party integrations. If you're not integrated with any third party platforms, the Generate option will always be available for selection. Click the Generate option now.
Once the Payroll Report is generated, you can view a detailed report of each staff members hours, wages earned, overtime, and so much more. For a more detailed view of an staff members payroll data, click the down arrow to the far right of their row.
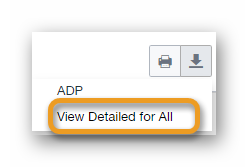
Alternately, for a more detailed view of all staff member payroll data, click the down arrow in the upper right hand corner, then select View Detailed For All from the drop down list.
Depending on how you have your Export Preferences configured, the Payroll Report can be exported in a number of ways. The default export preference is in a CSV format. You can export the Payroll Report by clicking the down arrow found in the upper right hand corner, then selecting one of the Export To CSV options from the drop down list.
Note: This is available on the Old Payroll Engine. The new payroll engine doesn't allow for a custom export preference.
__________________________________________________________________________________

We want to hear about your great ideas. If you have a feature request, enhancement suggestion, or improvement, let us know by submitting them to to our Ideas page. Your submission can receive votes from other Paycor Scheduling users, or you can vote on ideas yourself. Simply click the ADD A NEW IDEA button below to check it out.
Cheers!